Installing the underlay
 Audio for slide 1 (mp3 |6|KB)
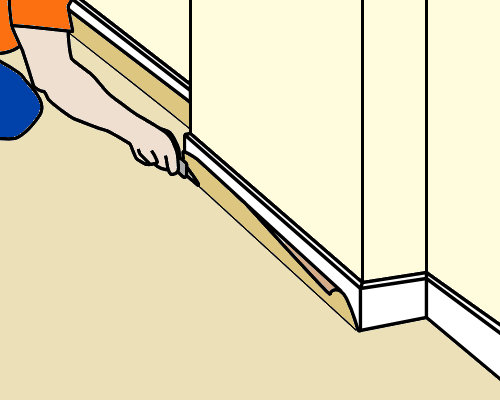
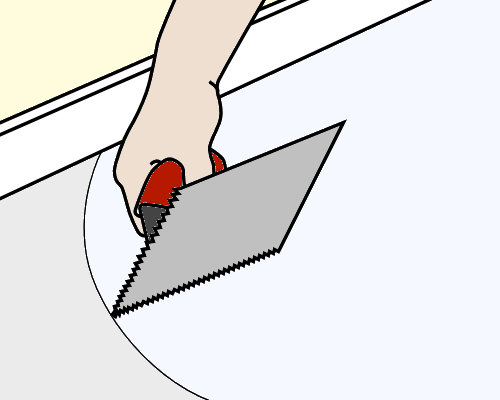
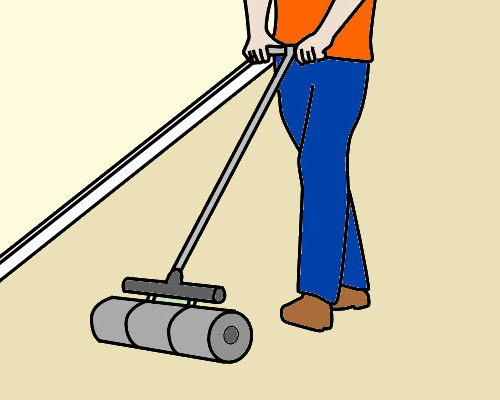
If you're carrying out a double bond installation, you will lay the underlay first and then set out the working lines for the tiles on top of the underlay.
On the other hand, if you're doing a direct stick, you will skip the underlay installation and start setting out for the tiles on the subfloor surface (see the next lesson).

 Audio for slide 2 (mp3 |6|KB)
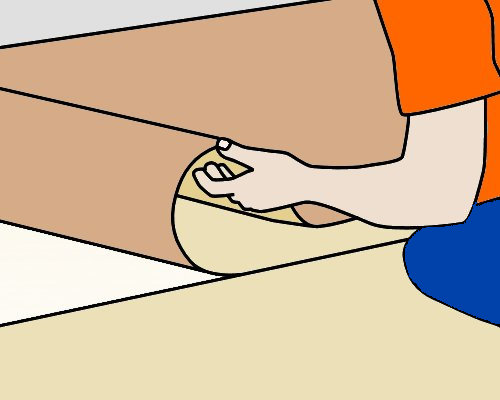
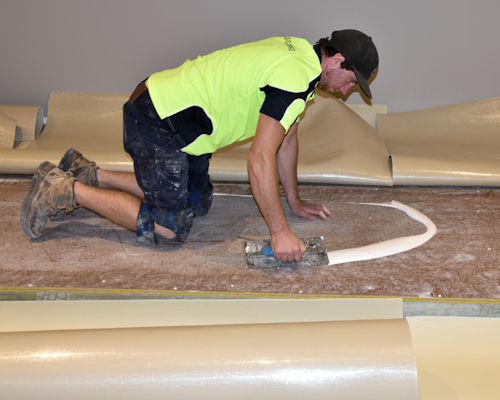
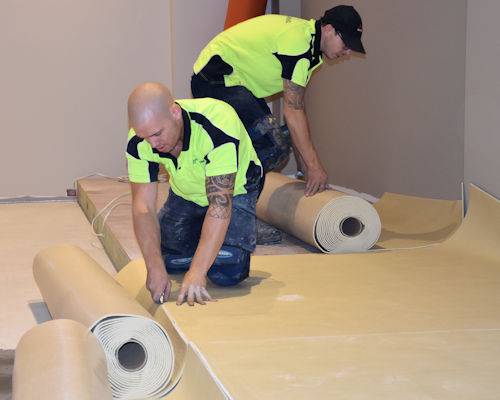
Before you apply adhesive to the subfloor to stick down the underlay, you'll need to plan the layout of the material and trim it to size.
You'll also need to give the underlay time to acclimatise to the humidity in the room, and 'relax' as its moisture content adjusts to the surrounding air.
Depending on the product and the manufacturer's recommendations, the acclimatisation period might be three hours or even overnight.


Learning activity
Audio 7 (mp3 |6|KB)Choose a specific underlay product suitable for use under carpet tiles. If your practical demonstration assessment activity includes the installation of an underlay, you should select that product for this learning exercise.
Answer the following questions about the underlay, using the manufacturer's guide as your reference source:
- What are the recommendations concerning acclimatisation of the underlay?
- What are the recommendations regarding smoothing out bubbles or wrinkles for a dual bond installation?


