General health and safety
 Audio for slide 2 (mp3 |6|KB)
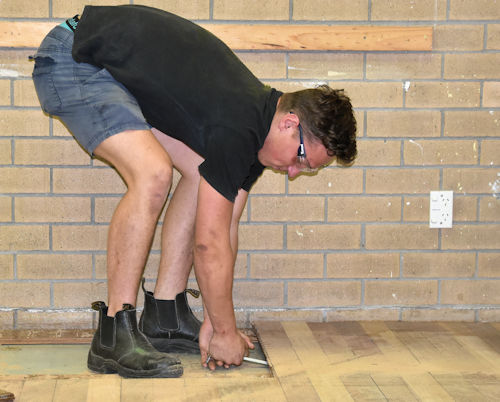
Manual handling injuries
Some manual handling injuries are caused by a single event - such as when you pull a muscle by lifting something that's too heavy.
But most long-term conditions, such as chronic bad backs or knee problems, tend to occur over time as a result of wear and tear on your body caused by poor work practices.
Below are some simple procedures to follow to help avoid manual handling injuries while you're working on-site

 Audio for slide 3 (mp3 |6|KB)
- Keep the work area clear of trip hazards, and tidy up the floor regularly.
- Avoid excessive bending, twisting and reaching past a comfortable distance.
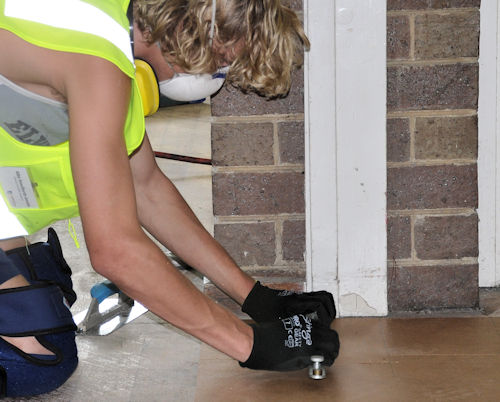
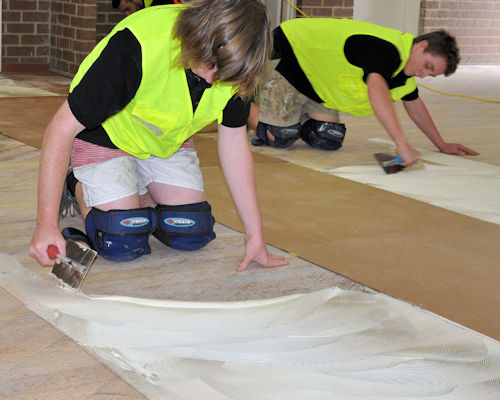
- Maintain a balanced posture while your body is under strain, especially when you're moving heavy loads or working on your knees.
- Take regular breaks when you're doing repetitive work, and give your muscles and joints a rest by standing up, stretching and walking around.
- Keep your back as straight as possible while lifting, lowering or carrying loads.
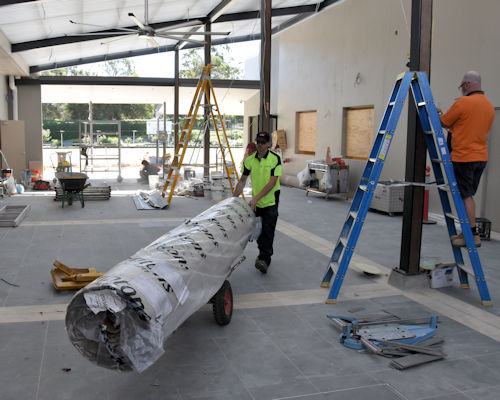
- Use mechanical aids to reduce muscle strain wherever you can, such as trolleys, jacks, ramps, forklifts or lifting cranes.
- Ask for help from an offsider if you think a load is going to be too heavy or too awkward to manoeuvre on your own.
- Wear appropriate personal protective equipment for the work you're doing.

 Audio for slide 5 (mp3 |6|KB)
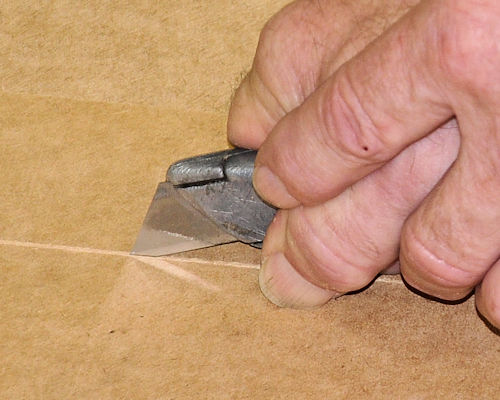
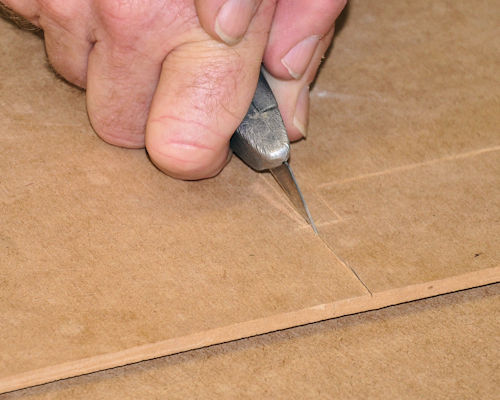
Here are some hints on knife safety:
- keep the blade sharp, and change it whenever it starts to get blunt
- keep your free hand clear - if you need to hold the material or a straight edge, make sure it's not in the direct line of the cut
- don't over-reach while you're cutting - this will help you maintain maximum control
- don't bend the blade sideways, because it could snap if it's bent or twisted in the cut.

 Audio for slide 6 (mp3 |6|KB)
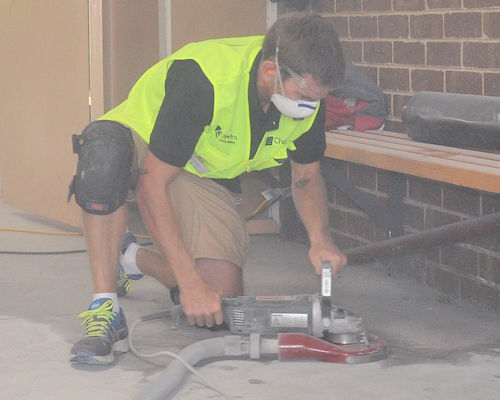
Airborne dust
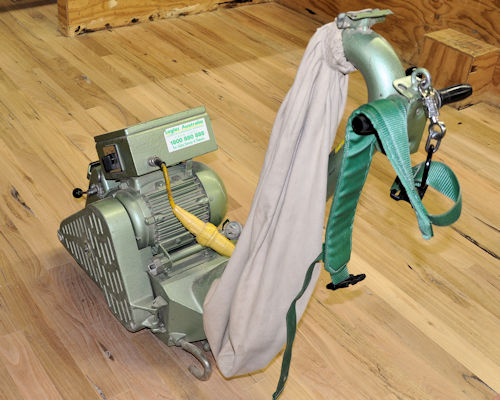
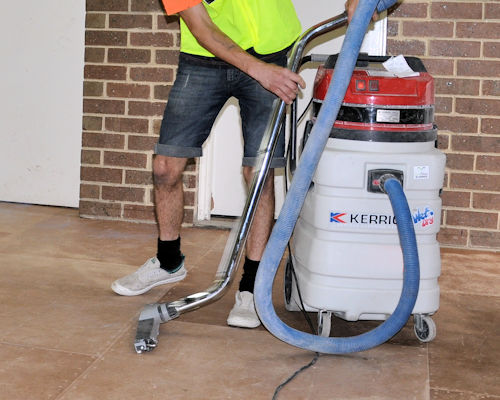
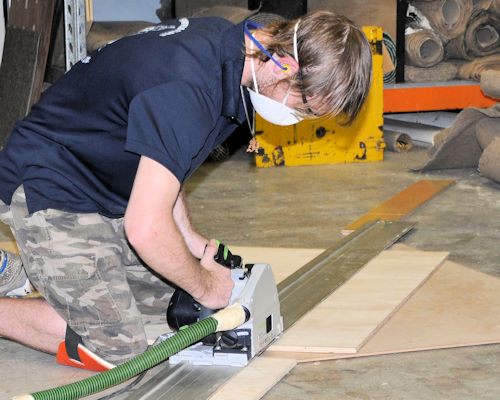
Any airborne allergens and dust are a big problem for flooring installers, especially when they're preparing the subfloor or cutting hard underlay sheets.
Concrete and cement dust also contains silica particles which can cause scarring of the lungs if you're regularly exposed to it.
Timber dust can trigger allergic reactions in some people, and over time may cause nasal or lung cancer.

 Audio for slide 9 (mp3 |6|KB)
Finally, if you're generating dust or working in a dusty area, make sure you wear a face mask.
The mask should be rated P2.
Don't use a domestic 'nuisance dust' mask, because it's not designed for industrial use.
The precautions you should take to reduce dust will be listed in the manufacturer's safety data sheet (SDS), along with the safety gear you should wear while working with those products.
Every hazardous product is required to have an SDS - so if you're not sure what safety precautions apply to a particular product you should always read the SDS first.

 Audio for slide 10 (mp3 |6|KB)
Carrying out an on-site risk assessment
Some flooring installers think that the whole concept of doing a risk assessment only applies to big jobsites or commercial projects, and that on smaller domestic jobs everyone can relax and forget about it.
But the fact is that every professional operator utilises basic risk assessment principles at every jobsite they go to, even if they don't document the process on a form.
This is because the three basic steps are actually very simple to carry out, and compared to the effort that's required, the rewards are huge in terms of avoiding injuries and other problems that might cause you grief.

 Audio for slide 11 (mp3 |6|KB)
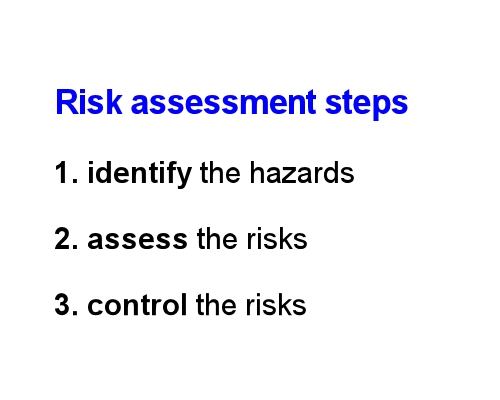
Here is the basic risk assessment process that you should implement on every jobsite, regardless of whether you're required to record the outcomes in a formal document:
- Identify the hazards - that is, look around the work area for anything that might cause a problem.
- Assess the risks - decide on how serious each hazard is that you've noticed.
- Control the risks - take steps to minimise the chance of that hazard causing an injury or some other type of harm. If the risks are serious, put more thought into your control measures. If the risks are not so bad, don't spend as much time on the solution.


Learning activity
Audio 12 (mp3 |6|KB)Do an informal risk assessment right now, either in the room you're in at the moment or in a nearby room or area.
Imagine that you've just arrived at the jobsite and are carrying out a site assessment, in preparation for a hard underlay installation.
Use the following steps and write down your findings:
- Identify the potential hazards in the area, including accessways and the outside parking area (which you will need for arriving in your vehicle and bringing in the underlay sheets and tools).
- Assess the risks of these hazards causing an injury or serious problem - you may use a simple scale, such as: H (high risk), M (medium risk) and L (low risk).
- Decide on suitable control measures to address the risks, making sure that your controls are in keeping with the level of risk associated with each of the hazards you've identified.

