The welding process
 Audio for slide 1 (mp3 |6|KB)
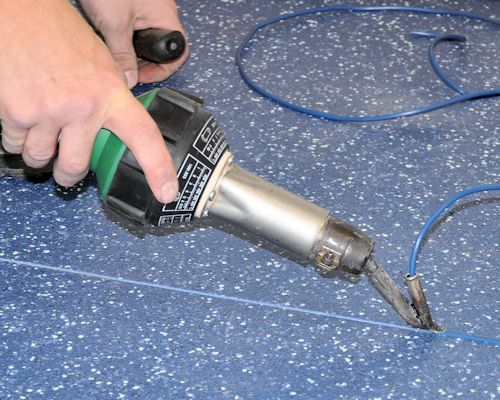
For most types of adhesive, the minimum waiting time is overnight.
If you start to weld before the adhesive has dried, the heat from the gun will turn the moisture into water vapour, which will affect the quality of the thermo-fusion (or 'heat' fusion) that takes place.

 Audio for slide 2 (mp3 |6|KB)
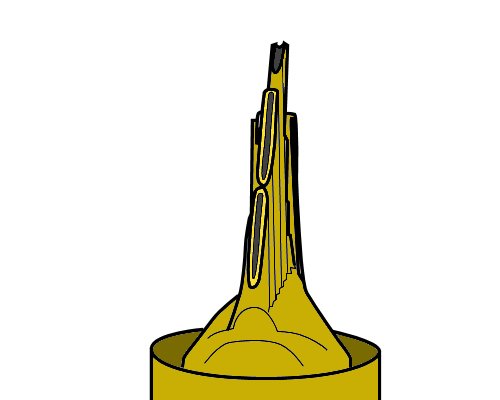
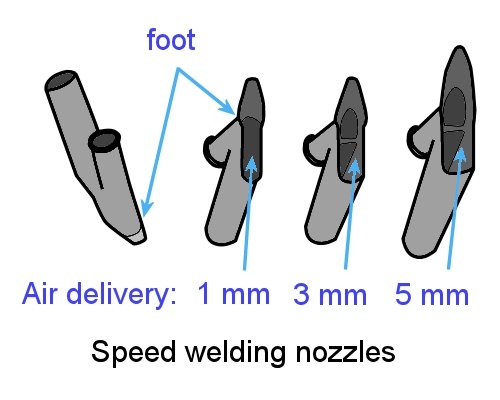
The size of the foot at the base of the tip controls the amount of air being blown through.
Most solid (or homogeneous) sheets require a 5 mm speed tip.
Layered (or heterogeneous) sheets, on the other hand, generally need a 3 mm tip to reduce 'glossing' on either side of the seam.

 Audio for slide 3 (mp3 |6|KB)
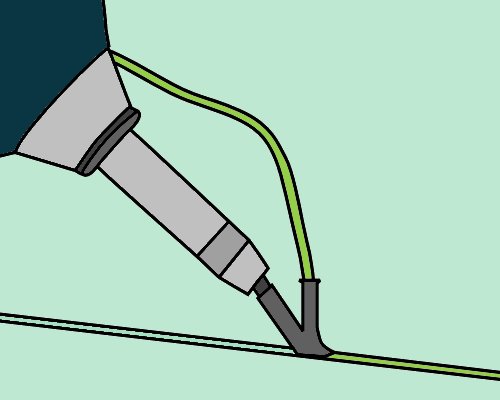
The correct temperature will be specified in the flooring manufacturer's guidelines.
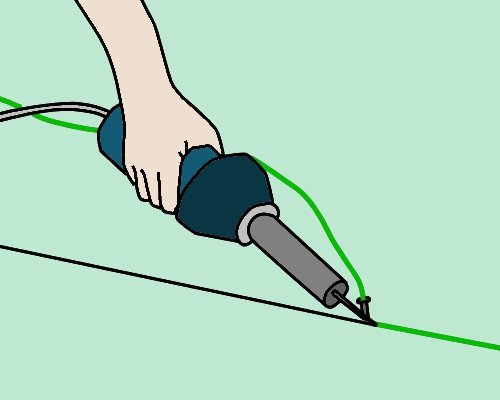
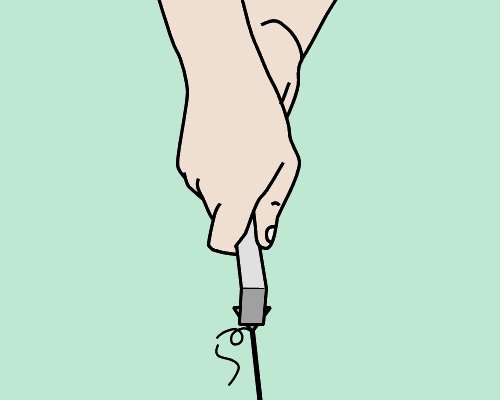
The speed and downward pressure will depend on the materials you're welding and the model and temperature of the welding gun.
Vinyl seams are generally welded at about 2 metres per minute.

 Audio for slide 4 (mp3 |6|KB)
Manual welding procedure
The general procedure used to manually groove and heat weld a seam in commercial vinyl is as follows:
- Groove out the seam to two-thirds of the depth of the material with a hand groover or turbo groover. Make sure that the width of the ribbon that's cut from the edge of each sheet is the same.

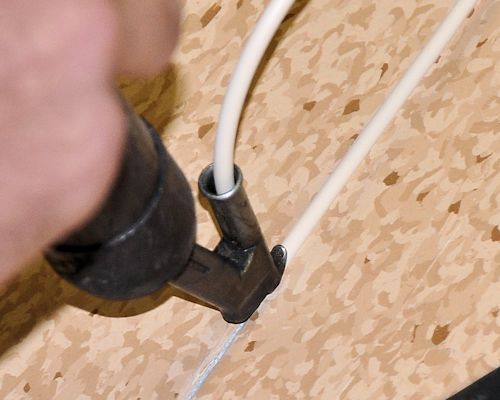 Audio for slide 8 (mp3 |6|KB)
Joining a weld
To join a weld where you've left off in the middle of a seam:
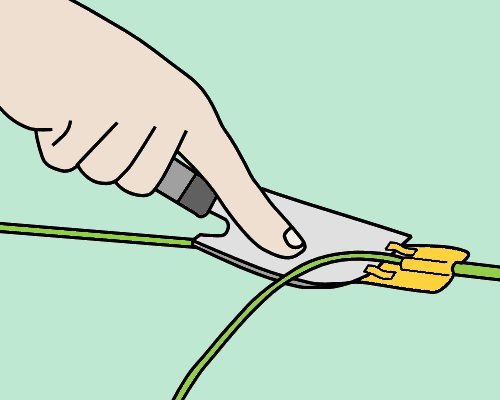
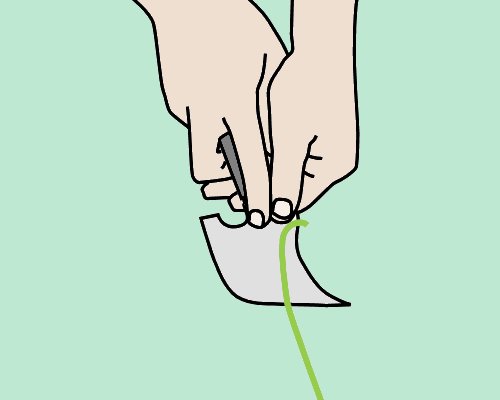
- Trim the loose end with a knife and chamfer down the end of the existing weld with a hand groover where it is to be overlapped.
- Start the gun at the end of the existing weld and apply pressure as it travels over the un-welded section. Complete the weld and trim as normal.

 Audio for slide 9 (mp3 |6|KB)
Welding PUR coated floors
Most resilient sheet products have a PVC (polyvinyl chloride) coating on top. However, there is an increasing range of PUR (polyurethane) coated products coming onto the market.
These provide the benefit of a harder wearing surface for the client, but present a new headache for the installer who has to weld them.
PUR surfaces tend to plasticise and decompose at lower temperatures than PVC. If they're welded in the same way as for PVC, the surface can be discoloured or destroyed.


Learning activity
Audio 11 (mp3 |6|KB)Do your own research to find answers to the following questions. You can ask your supervisor or look up the installation guidelines from one of the manufacturers.
- How long should you wait after sticking down sheet vinyl before you start the welding process?
- How deep and how wide should you groove out the seam with a grooving tool?
- Why do the seams need to be well cut with a gap of no more than 0.5 to 1 mm? That is, why can't you simply fill up a wide gap with welding cable?


